Trending

At low water on a calm spring tide, the shore gives up a world most people walk straight past. A pool sits in a gully like a small window: a beadlet anemone closed up tight, a blenny hovering above the weed, a hermit crab dragging a borrowed shell across the sand. Rock pooling is one of the cheapest and most absorbing afternoons the coast offers — and one of the easiest to do badly. The gap between a good session and a harmful one comes down to timing, a little kit and a few habits worth learning early.
Tide times are not the same on every beach, even a few miles apart. Check a tide table for the exact stretch of shore you have in mind, or use a tide app that lets you name the nearest harbour or headland rather than the nearest town. A difference of twenty minutes and half a metre of water matters when you are working around low water.
The lowest tides fall around new and full moon, when the moon and sun pull together. These are the spring tides, and they expose the widest band of shore. Between them come neap tides, which leave more water over the lower pools. For a first trip, aim to arrive an hour before low water and leave as the tide turns. Roughly two hours either side of low tide is your window.
Choose a falling tide for your first outing, so any miscalculation is a small one. Never turn your back on an incoming sea, and remember that on flat, gently sloping shores the water can creep round behind you faster than you would walk. If there is a swell running, pick a sheltered shore rather than an exposed headland where waves break over the ledges.
You need very little, and almost none of it from a specialist shop.
Leave nets with rigid frames, trowels and crowbars at home. They encourage the one thing rock pooling does not need: force.
Most harm to shore life is done by accident, underfoot. Stay on bare rock and sand where you can, avoid trampling weed and the pink crust of coralline algae, and step rather than slide. Do not roll boulders on an exposed shore just to see what is underneath — put back any stone you do lift, the same way up, so the animals living on its underside are not left baking in the sun.
Keep hands away from jellyfish, even stranded ones, and watch where you put bare feet in wet sand on a sandy beach. Wash your hands before eating, and cover any cut or graze. If a cut becomes hot, swollen or painful over the following days, get it looked at by a medical professional rather than waiting it out.
Move slowly and crouch low, with the sun behind you so your shadow does not fall across the water. Most pool residents react to movement overhead long before they react to a hand. Sit still for two minutes and the pool reassembles itself around you.
The best rock poolers spend most of their time crouched and motionless. Stillness is the whole technique.
Wet your hands first — dry fingers damage the surface of anemones and small fish. Never prise a limpet off its rock; it clamps down hard, and forcing it up usually kills it. Scoop rather than grip: slide the tub underneath an animal and lift the water with it. Do not hold a crab or prawn by one claw or leg. Keep any animal out of the water for a minute at most, in shade, and never leave a container sitting in direct sun. Put one creature per tub — some pool residents eat each other, and anemones sting.
Return each animal to the exact pool it came from, to the same spot and the same way up. Pools differ from one another in temperature, salinity and how much they are washed by the tide, and their residents are suited to their own patch of water. Moving a creature along the shore is not a kindness.
Place it gently rather than dropping it. Put seaweed fronds back on the rocks they were attached to and leave holdfasts — the root-like grips — intact. Crabs and small fish do better tucked back among weed than left on open sand, where they are easy pickings. If you have turned a stone, turn it back.
The cast list changes around the country, but the common finds repay a closer look: periwinkles, limpets, dog whelks, shore crabs, prawns, beadlet anemones, and the darting blennies and gobies of lower pools. Snakelocks anemones turn up on southern and western shores. A hand lens and a photograph of the underside, the shell opening or the pattern on the back will get you much further than memory.
Your county wildlife trust or a national marine recording scheme will usually welcome a note of what you saw and where, and a local group can confirm an identification. Note the date, the beach and the state of the tide — that detail is what makes a record useful.
Before taking anything home, check the rules for that shore. Many sites are protected as nature reserves, Sites of Special Scientific Interest or Marine Conservation Zones, and collecting there may be restricted or banned. If you are unsure, ask at a local visitor centre or harbour office. Photographs are a fine thing to carry home.
Start small. Pick a shallow pool high up the beach, where the water is already warming in the sun and the residents are the tough, common species. Spend five minutes just watching before you touch anything. Then work gently round the edges with your fingertips and the tray, and put back as you go. Leave before the tide turns rather than after it. You will come away with wet sleeves, a few photographs, and a much better idea of what that strip of coast is actually doing.
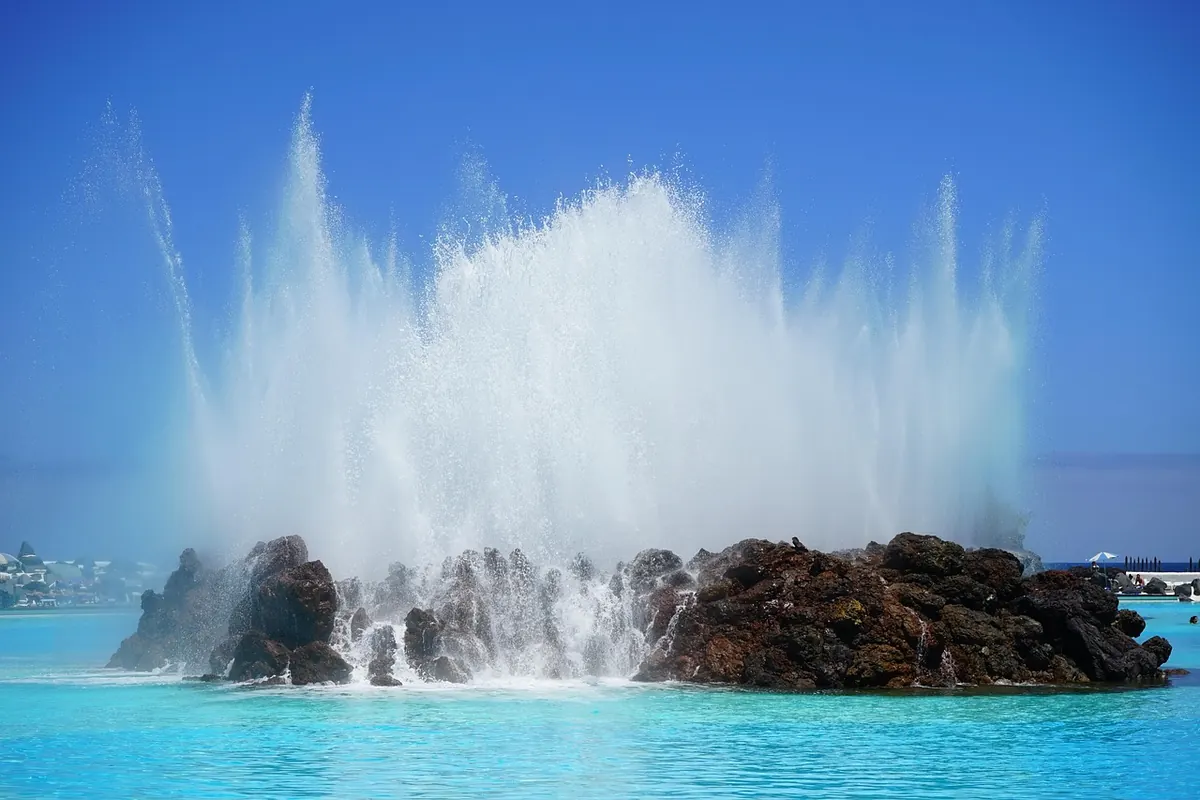
Photo: Hans / Pixabay